I wanted a place where I could see the beautiful things that have been given to me. I don't like things in drawers, except of course what really should be in them. The pretty things should be out where you can see them.
The blue fabric one was made by my son when he was 7. The insect and heart were made by my sweet friend Jone. The flower in the black circle was done by the wonderful Syd. The ceramic one is a present from my dear Puk, made by Liebe. The jumping hare is by our teacher Jessie. And the fox? That one I bought, and I've no idea who made it.
You will need:
- Thick felt in the size you want your frame
- Bias binding (mine was bought at La Droguerie)
- a thick needle to attach the string
- a piece of thread
- sewing machine (makes this much faster), otherwise you can do it by hand, I think.
Then simply use pins to attach the bias binding and sew it to the felt.
If you can do it perfectly, good for you. Mine is not, because I missed a spot with the machine, but I like it anyway, or I pretend I do.
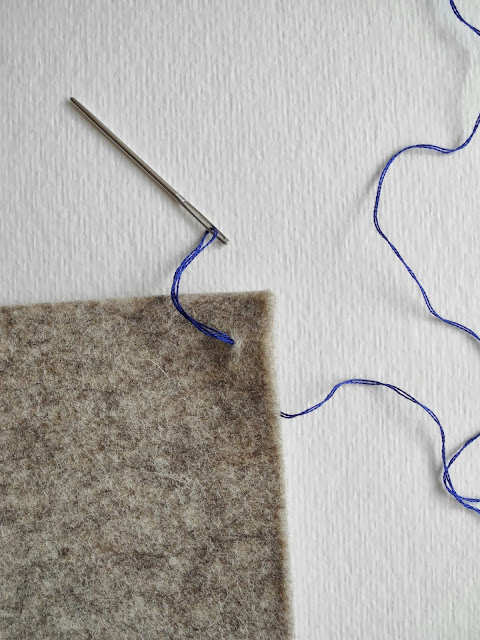
Then just pass your thread through the felt (the length depends on you), and tie with small knots.
Hang where you are able to see your little brooches or whatever else you wish to hang on your frame.
Wasn't that easy? I usually like easy projects that you can actually do, and feel like you've accomplished something extraordinary, when in fact it was just a simple thing, but it made all the difference.
I hope you find time this weekend to craft and have fun!
Giova


This is lovely and such a good idea! I love displaying all my pretty badges and broaches
ReplyDeleteI really like your bias tape too
http://ahandfulofhope.blogspot.co.uk/
Thank you Helen! I hope you can find the time to make one of this and maybe show it to me? It is really easy and fast.
DeleteI think my frame is going to have to be three times that size! ...or maybe three smaller frames.
ReplyDeleteI LIKE the simplicity. GREAT idea, dear one.
Something on the way soon - promise!
XOXO
I thought so. Maybe just have one medium an change the display every once in awhile?
DeleteSomething on the way too ;)
OMG this is great! You are really creative ;)
ReplyDeleteThanks a bunch Stephanie!
DeleteLove it, Gio, so lovely. Miss you!
ReplyDeleteI'm glad you liked it, and I miss you too!
DeleteI just bought some of that blue splatter print Liberty fabric (same as your bias tape) to make a scarf! When I wear it, I shouldn't stand next to your frame then. Great minds... ;)
ReplyDeleteYou better not stand beside it, you might get confused with the frame, hehe!!
DeleteThose Liberty fabrics are just the best, I wish I had tons of it!
Good blog and you have described in a very nice way. Thanks for providing such an informative blog. You can find more about bunting T-standin our website.
ReplyDeleteNice Blog, very use full
ReplyDeleteThank for sharing
Bunting T-Stand